Why Your Calves Burn on a Mini Stepper - and the Foot Placement That Fixes It in One Session
Quick Answer: Calf burn on a mini stepper almost always means your feet are too far forward on the pedals. With the ball of the foot over the pivot and the heel unsupported, your calves have to hold your body weight through the entire stroke - which turns a glute-and-quad exercise into an isometric calf hold. Slide your whole foot back so the heel is fully on the pedal and stays down through the press, and the burn moves to where it belongs within a session.
The second half of the fix is posture: standing too upright loads the calves, hinging slightly forward loads the hips.
Both take ten seconds to change and neither requires a different machine.
Why do the calves take over on a mini stepper specifically?
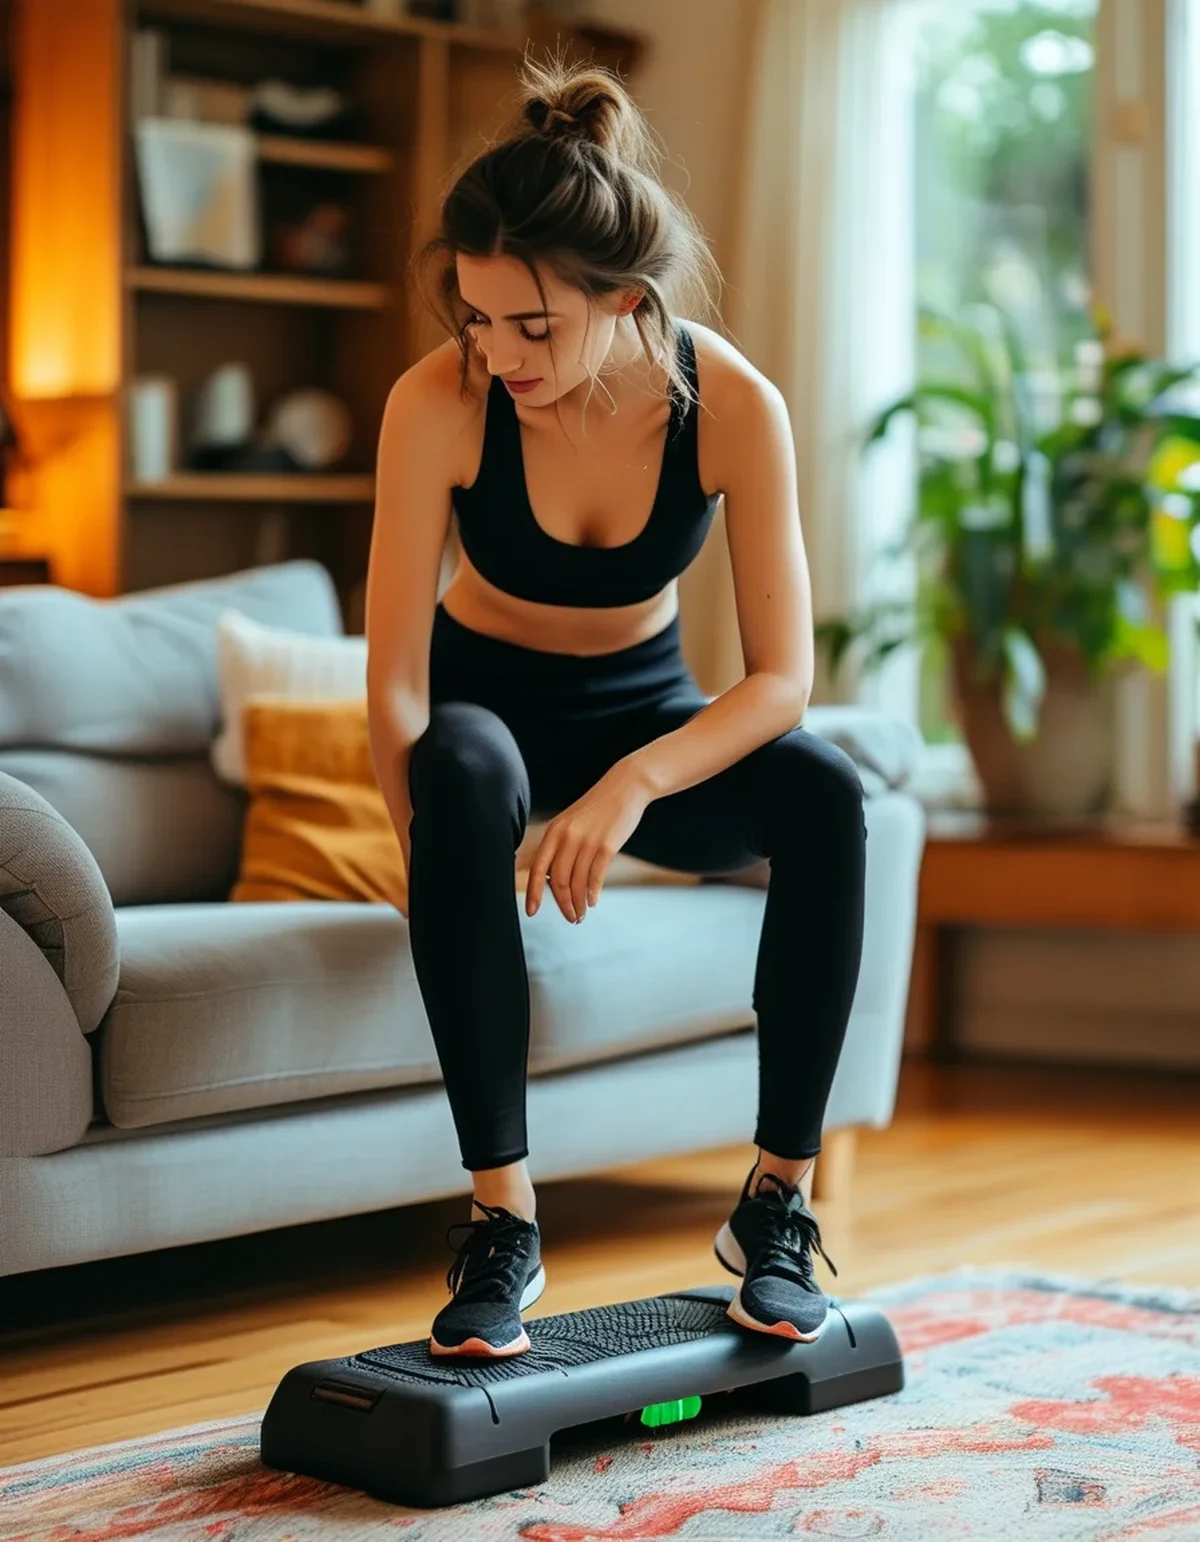
Because mini stepper pedals are short - typically 8-11 inches long - and most people instinctively place their feet where they would on a stair: ball of the foot forward, heel hanging over.
On a real staircase that is fine, because you are lifting your whole body and pushing through the floor. On a mini stepper the pedal is moving under you the whole time, so your ankle has to stabilize continuously against a shifting surface.
That continuous stabilization is the calf’s job, and it is an isometric contraction - the hardest kind to sustain. Isometric holds under load produce burn fast, which is exactly what you are feeling.
Meanwhile, with the heel unsupported, the ankle never gets to fully extend, so the glutes and quads never get a full range of motion to work through. You end up with maximum discomfort and minimum training effect - the worst possible trade.
What is the correct foot position?
Four adjustments, in order of impact.
1. Whole foot on the pedal, heel included. If your foot does not fit, you need a longer pedal, not a different technique. Check the machine’s pedal length against your shoe length before buying - this is the single most under-checked spec on mini steppers.
2. Keep the heel down through the press. The heel should stay in contact with the pedal as it descends. If it lifts, you have reverted to calf-driving and the burn will come straight back.
3. Press through the mid-foot and heel, not the toes. Cue: imagine pushing the pedal away with your heel.
4. Feet parallel and hip-width apart on the pedals. Toes turning outward is usually a sign you are compensating for restricted ankle range - which will also load the calf.
Make all four changes and try five minutes. You should feel it in the glutes and the front of the thighs within the first minute.
Does posture change which muscles work?
Substantially, and this is the second half of the answer.
Standing bolt upright puts your weight over the ball of the foot and shifts load to the calves and quads. It also tends to produce a shallow, bouncy stroke.
Hinging slightly forward at the hips - roughly 10-15 degrees - with light support from a counter or a wall shifts weight back over the mid-foot and recruits the glutes and hamstrings. This is the position most people are looking for without knowing to ask.
Leaning hard on handles or a counter takes weight off the legs entirely and reduces the whole thing to arm-supported marching. Common when watching TV, and it explains a lot of ‘the stepper stopped feeling hard’ complaints.
The test: press one hand lightly on a surface. If removing it makes the exercise noticeably harder, you were unloading your legs with it. Aim for fingertip contact only, enough for balance and nothing more.

5 mistakes that cause mini stepper calf pain
1. Half-foot placement. Covered above, and it accounts for the large majority of cases.
2. Resistance set too low. Counterintuitive, but low resistance makes the pedals move fast and shallow, which forces the ankle to work overtime stabilizing. Turning resistance up usually slows the stroke and lets the hips take over.
3. Bare feet or soft slippers. No arch support means the calf and foot muscles do the stabilizing work. Wear proper trainers, even indoors, even for ten minutes.
4. Going too long, too soon. Calf muscles adapt to new isometric demands slowly. Start at 8-10 minutes and add two minutes a week rather than pushing through a 30-minute session on day one.
5. Skipping the ankle prep. Limited ankle dorsiflexion forces the heel up automatically, no matter how good your intentions. Thirty seconds of calf stretching per side beforehand genuinely changes how the stroke feels for people with stiff ankles.
When is calf burn a problem rather than just fatigue?
Most of it is ordinary muscle fatigue and it resolves with the positioning fix. Some of it deserves attention.
Normal: burning during use that fades within minutes of stopping; mild soreness for a day or two after starting a new routine; tightness that improves with stretching.
Worth adjusting for: cramping mid-session (usually hydration, electrolytes, or too much too soon), and calf tightness that persists for several days.
Worth getting checked: sharp or localized pain rather than diffuse burning; pain, swelling, or warmth in one calf but not the other; any pain that continues at rest; numbness or tingling in the foot. Persistent one-sided calf pain with swelling should be evaluated promptly - that is not a mini stepper question.
This is general information, not medical advice. If something hurts in a way that feels different from muscle fatigue, stop and check with a professional rather than working around it.
FAQ: Mini Stepper Form Questions, Answered
Should I feel it in my glutes?
Yes - with the heel down and a slight forward hinge, the glutes and quads should be the dominant sensation. If your calves are the loudest voice in the room, revisit foot position first.
Does a longer pedal really matter that much?
It is arguably the most important spec for anyone over about a women’s size 8. A pedal that cannot fit your whole foot guarantees the problem structurally, and no technique fixes it.
Can I use a mini stepper barefoot at a desk?
You can, but expect more calf and foot fatigue. Keep a pair of trainers under the desk if the stepper lives there - it is the difference between a sustainable habit and one that quietly stops in week three.
TL;DR:
- Calf burn means your feet are too far forward - the calf ends up doing an isometric hold for the whole session.
- Whole foot on the pedal, heel down through the press, pressing through mid-foot and heel.
- Hinge forward 10-15 degrees with fingertip support only; standing upright loads calves, leaning hard unloads everything.
- Turn resistance up, not down - low resistance produces a fast shallow stroke the ankle has to stabilize.
- Check pedal length before buying; a pedal shorter than your foot makes this unfixable.
Ten seconds of repositioning turns a calf-burning novelty into an actual lower-body workout. Try five minutes with the heel down before you decide the machine was a mistake.
Keep Reading
This article is for general informational and styling purposes only. Fit, sizing, and product availability may vary.